Why the Tumbleweed Fencl Solar Panel Kit Matters for Off-Grid Living
For anyone building or living in a Tumbleweed Fencl, the solar panel kit is the backbone of true off-grid independence. This guide walks through every step of installation, from panel sizing to battery connection, so you can power your tiny house without relying on shore power. Whether you’re a weekend boondocker or a full-time off-grid dweller, getting this system right eliminates guesswork and prevents costly mistakes.
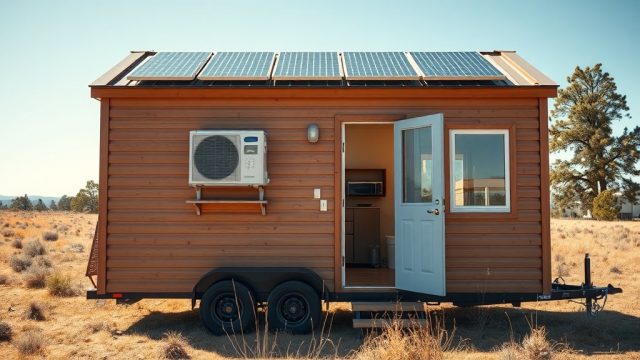
The Fencl model, with its compact 24-foot footprint, demands a solar kit that balances roof space with daily energy needs. The Tumbleweed Fencl Solar Panel Kit is engineered specifically for this tiny house, offering pre-configured components that save hours of planning. Below, we break down the installation process, component specifications, and real-world advice to help you power up with confidence.
What Components Come with the Tumbleweed Fencl Solar Panel Kit?
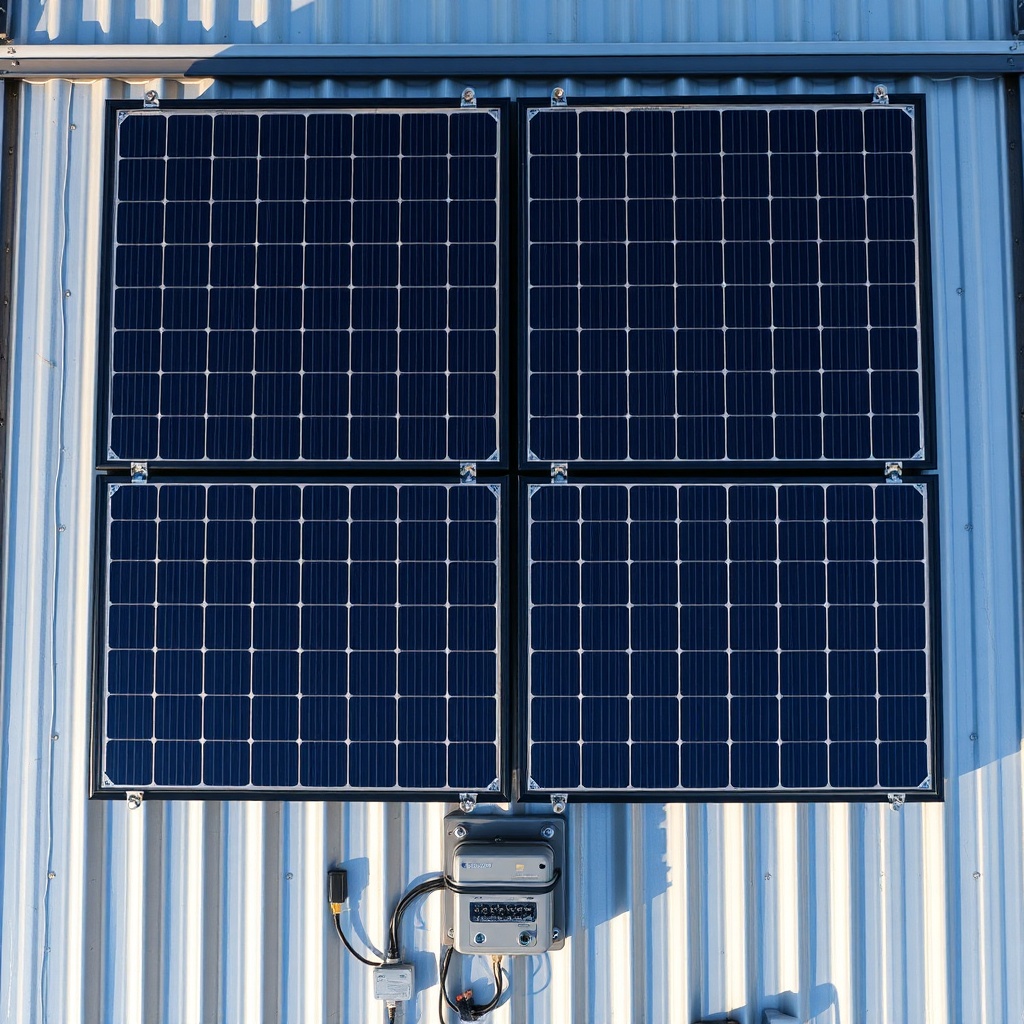
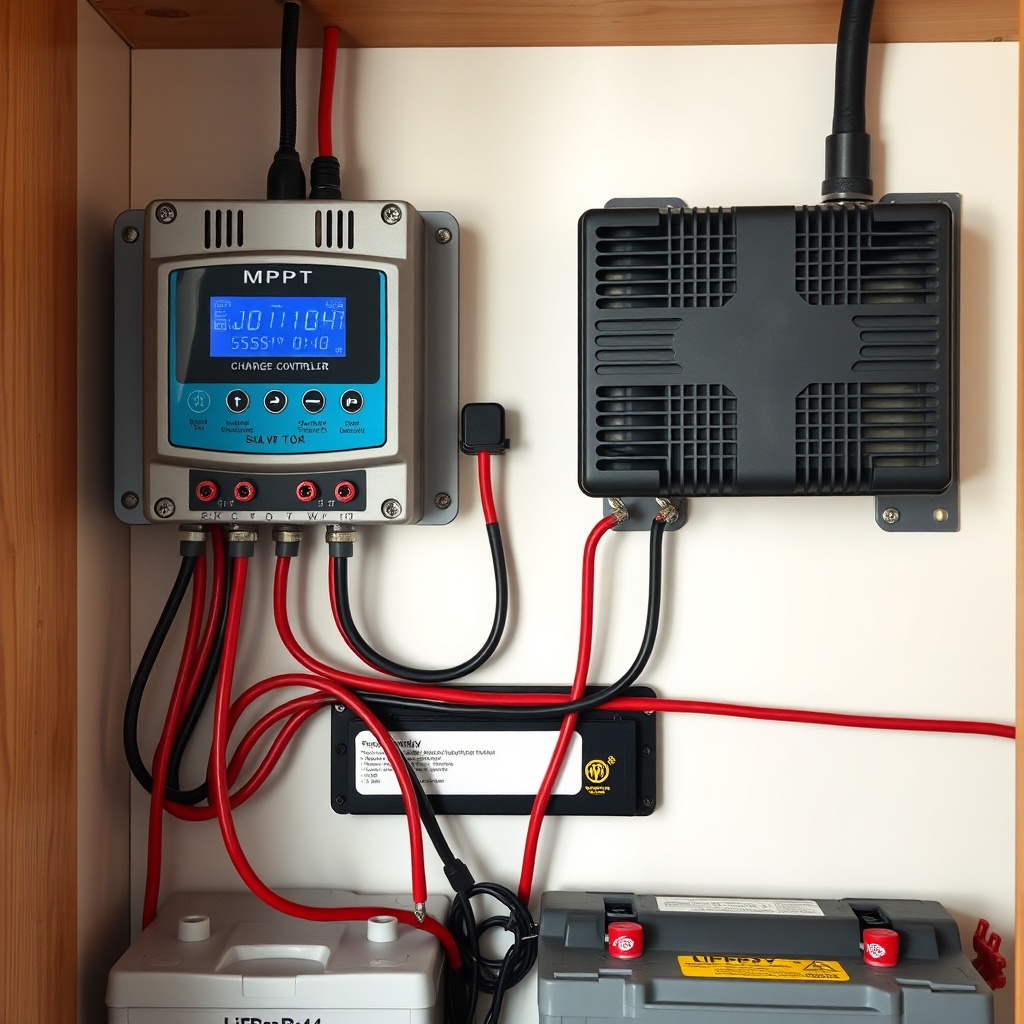
The kit includes four 200W monocrystalline panels (800W total), a 40A MPPT charge controller, a 3000W pure sine wave inverter, all necessary wiring adapters, roof mounts, and a detailed wiring diagram. Panels are 1640x992mm each, weighing roughly 40 lbs, so two people are recommended for roof installation. The kit does not include batteries, but it pairs seamlessly with lithium iron phosphate (LiFePO4) battery banks in 12V, 24V, or 48V configurations.
Owners typically add a 200Ah to 400Ah LiFePO4 battery bank separately, depending on whether they run an air conditioner or just lights and a fridge. The MPPT controller handles up to 100V input, so series wiring of panels is feasible, but the manual recommends parallel wiring for shading resilience. All cabling uses Anderson Powerpole connectors for quick disconnects, and the roof mounts are Z-brackets that work with the Fencl’s metal roof ribs without drilling into the seams.
How Do You Prepare the Roof for Panel Mounting?
Start by cleaning the Fencl’s standing seam metal roof thoroughly with a mild detergent and water, then dry completely. Mark the panel positions using the included cardboard template—this ensures even spacing and proper alignment with the roof’s structural ribs. The kit’s Z-brackets are designed to clamp to the seam ridges without penetrating the metal, so no sealant is needed. If you have a rubber roof option, you’ll need to apply butyl tape under each bracket and seal screw holes with dicor lap sealant.
For the Fencl, the ideal panel layout is two rows of two panels, oriented portrait-style (long edges running roof front to back). This minimizes overhang and keeps weight balanced. Run the pre-terminated cables through the cable entry gland (included) located near the roof vent. Use a dab of silicone around the gland to prevent leaks. Once all four brackets are torqued to 12 ft-lbs, tilt the panels into place and secure them with stainless steel bolts. Double-check that no cable is pinched under a bracket.
If you plan to later expand your array, the Fencl roof can accommodate up to six 200W panels (1200W total) by using additional Z-brackets (sold separately). However, the kit’s charge controller is capped at 40A, so you’d need to upgrade that component for larger arrays.
What Wire Gauge and Fusing Are Required for a Safe Setup?
The kit ships with 10 AWG PV wire for the panel-to-controller run, but if your roof-to-controller distance exceeds 20 feet, upgrade to 8 AWG to reduce voltage drop. For the controller-to-battery connection, use 4 AWG wire at minimum, and consider 2 AWG for battery banks over 300Ah. The included 100A mega fuse should be installed on the positive battery cable within 12 inches of the battery terminal. Additionally, place a 50A breaker between the panels and charge controller for safe disconnection during maintenance.
The inverter comes with a 250A class-T fuse mounted on its positive input. This is critical—without it, a short between the battery and inverter could cause a fire. Use a torque wrench set to 8 ft-lbs on all battery terminal connections to prevent overheating. Some owners prefer to add a battery monitor shunt (like a Victron SmartShunt) between the battery negative and the system ground, which the kit does not include but is highly recommended for accurate state-of-charge readings.
| Severity | Condition |
|---|---|
| Usually not urgent | Panel tilt angle is off by 5-10 degrees from optimal seasonal angle; you will still generate 90%+ of capacity. Adjust at next roof visit. |
| Needs attention soon | Any fuse or breaker is warm to the touch after running full inverter load for 10+ minutes. Check connections and torque, replace undersized fuses. |
| Usually not urgent | Charge controller shows lower than expected voltage at midday with full sun; likely dust or light soiling on panels. Clean with mild soap next week. |
| Needs attention soon | Battery terminal temperature exceeds 40°C (104°F) during charging. Stop charge immediately, tighten connections, verify BMS is active. |
| Usually not urgent | Inverter fan runs at low speed continuously, even with minimal load. Usually normal in hot environments, but clean vents at next maintenance. |
| Needs attention soon | One panel produces less than 50% of the others’ voltage under identical shade conditions. Check for microcracks or failed bypass diode. |
How Do You Connect the Charge Controller and Inverter?
Mount the charge controller vertically in a ventilated indoor compartment (the Fencl’s utility closet works well). Run the PV wires from the roof through the cable entry gland to the controller’s PV input terminals, observing polarity carefully. Connect the battery bank to the controller’s battery terminals using 4 AWG wire. Program the controller before any load is connected: set battery type to LiFePO4, absorption voltage to 14.2V (for 12V system), and float to 13.5V. The default settings are for lead-acid, so this step is mandatory.
The inverter should be mounted as close to the battery bank as possible to minimize DC cable length. For the Fencl, the under-counter area near the electrical panel is typical. Connect the inverter’s positive and negative DC terminals to the battery bank via the included 250A fuse and a separate DC disconnect switch (not included—use a 300A rated switch). Next, run 10 AWG romex from the inverter’s AC output to the Fencl’s main load center. Label the inverter-fed breakers clearly so future owners or inspectors can identify the off-grid source.
What Do Owners Say About the Tumbleweed Fencl Solar Kit Performance?
Owners consistently report that the 800W kit, paired with a 200Ah battery, runs the Fencl’s essentials comfortably: LED lights, a laptop, a 12V fridge, a water pump, and a TV for about 6-8 hours of autonomy. Many note that the MPPT controller is highly efficient, hitting 97% peak in good sunshine. One owner commented, “I was skeptical about the 800W being enough, but even on overcast Pacific Northwest winter days, I get 300-400W during midday. That’s enough to keep the fridge running and charge my phone.”
Another common observation is that the included wiring is generous but not excessive—some owners wish the PV cables were 5 feet longer for easier roof routing on the Fencl’s longitudinal seam. A few owners have added a second 200Ah battery in parallel for a total of 400Ah, allowing them to run a 5000 BTU window air conditioner for 3-4 hours per evening. They emphasize that the kit’s inverter handles the startup surge of the AC well, but they always turn off the water heater during heavy loads. Overall, the kit is praised for being truly plug-and-play with clear instructions, though a few suggest buying a remote battery monitor for peace of mind.
Frequently Asked Questions
Can I install this kit myself, or do I need an electrician?
If you are comfortable with basic 12V DC wiring and using a multimeter, you can self-install following the kit’s manual. However, the AC side (inverter to breaker panel) requires knowledge of electrical codes—many owners hire a licensed electrician for that final connection, especially if they need inspection for insurance.
Will the roof hold the weight of four panels?
Yes. The Tumbleweed Fencl’s metal roof structure is rated for 800W of solar (dead load ~160 lbs). The Z-brackets distribute weight across multiple roof ribs. If using heavier panels (over 45 lbs each), verify with Tumbleweed support, but standard panels are fine.
Does the kit work with a 24V or 48V battery system?
Yes, the MPPT controller auto-detects system voltage up to 48V. For a 24V system, panels should be wired in series pairs to deliver 48V input to the controller. The inverter is 3000W at both 12V and 24V, but at 48V you would need a different inverter (not included).
What is the expected lifespan of the solar panels in this kit?
Monocrystalline panels typically retain 80% output after 25 years. The included panels are Tier 1 with a 10-year product warranty and 25-year linear performance warranty. Physical damage from hail or debris is not covered, so consider insurance.
Can I add more panels later to expand the system?
Yes, but you will need a larger charge controller (60A or 80A) and possibly a stronger inverter. The roof can hold up to six panels. Once you exceed 800W, upgrade the controller and reconfigure the wiring as per the expanded system manual.
Will the solar kit interfere with my Fencl’s other electrical systems?
No, the kit’s DC side is completely independent. The inverter’s AC output ties into the load center via a separate breaker. Do not backfeed into a shore power pedestal—use a manual transfer switch if you need both solar and grid input, which is not included in the kit.
For more specific tweaks to your Fencl setup, see our guide on Tumbleweed Fencl: Best Murphy Bed Options for the Fencl Model to maximize sleeping space, and check Maximize Closet Space in Your Tumbleweed Fencl for storage ideas. If you’re upgrading kitchen gear, read Top Compact Stoves for Your Tumbleweed Fencl Kitchen and our The Ultimate Small Space Furniture Buying Guide for Tiny Houses for multi-functional furnishings.