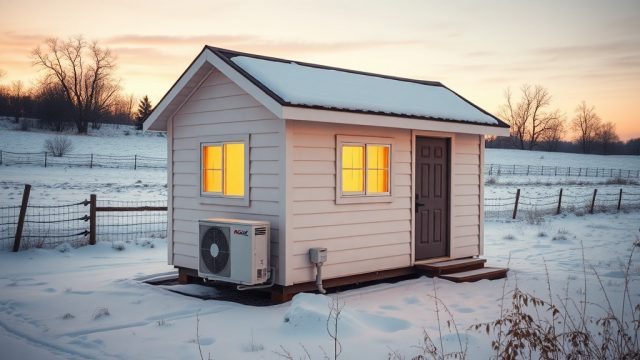
Why Install a Composting Toilet in Your Tiny Goat House?
For owners of the Tiny Goat House, going off-grid is often part of the appeal. Managing waste without traditional plumbing can feel daunting, but a well-chosen composting toilet provides a practical, low-maintenance solution. This guide focuses on selecting and installing the right system for the compact bathroom space in the Tiny Goat House, covering everything from venting to daily operation.
Whether you are building out your mobile home or upgrading a stationary unit, these steps ensure a clean, odor-free experience that respects the environment and your budget.
What Composting Toilet Models Fit the Tiny Goat House Layout?
The Tiny Goat House bathroom measures approximately 38 inches wide by 48 inches deep. That limited footprint demands a toilet that is compact but still offers sufficient capacity for two people using it heavily for three to four days. The most popular choices among owners are:
- Nature’s Head (Model 10): 21” x 18” x 20.5” — a separation unit with a 2.2-gallon liquid tank and a 5-gallon solids container. It fits neatly into the corner.
- Separett Villa 9215: 20.5” x 20” x 22” — urine-diverting with a built-in fan, ideal for the Tiny Goat House if you have rear access for the liquid cartridge.
- Air Head 7010: 18” x 20.5” x 19” — slightly smaller but with a similar split system, well-reviewed for its simple crank mechanism.
All three models work on 12V or battery power for the fan, a crucial feature for off-grid setups. Expect to pay between $950 and $1,200 for a complete unit with vent kit. Avoid cheap, less than $500 units — they often lack proper sealing and fan power, leading to smell issues inside the Tiny Goat House.
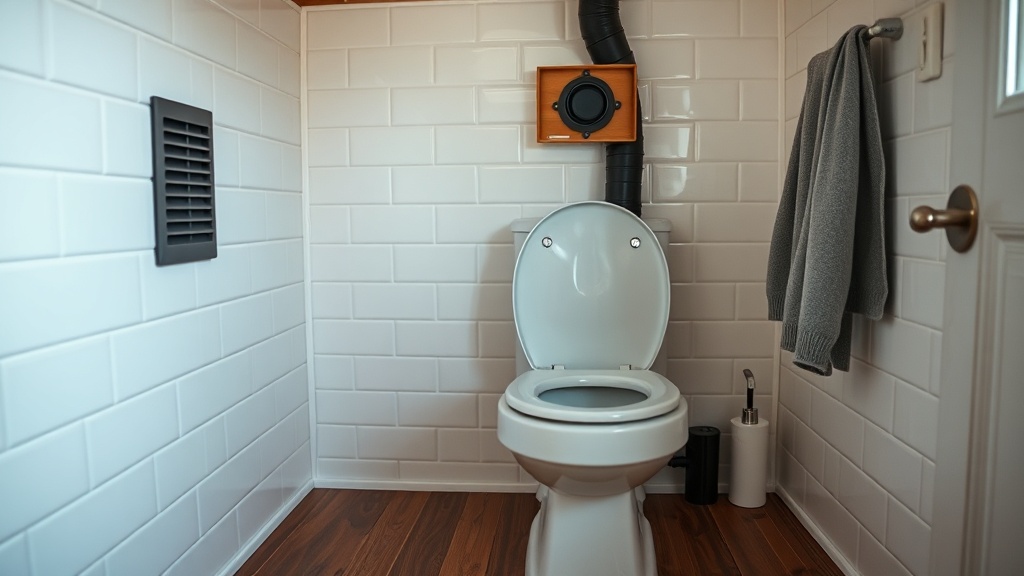
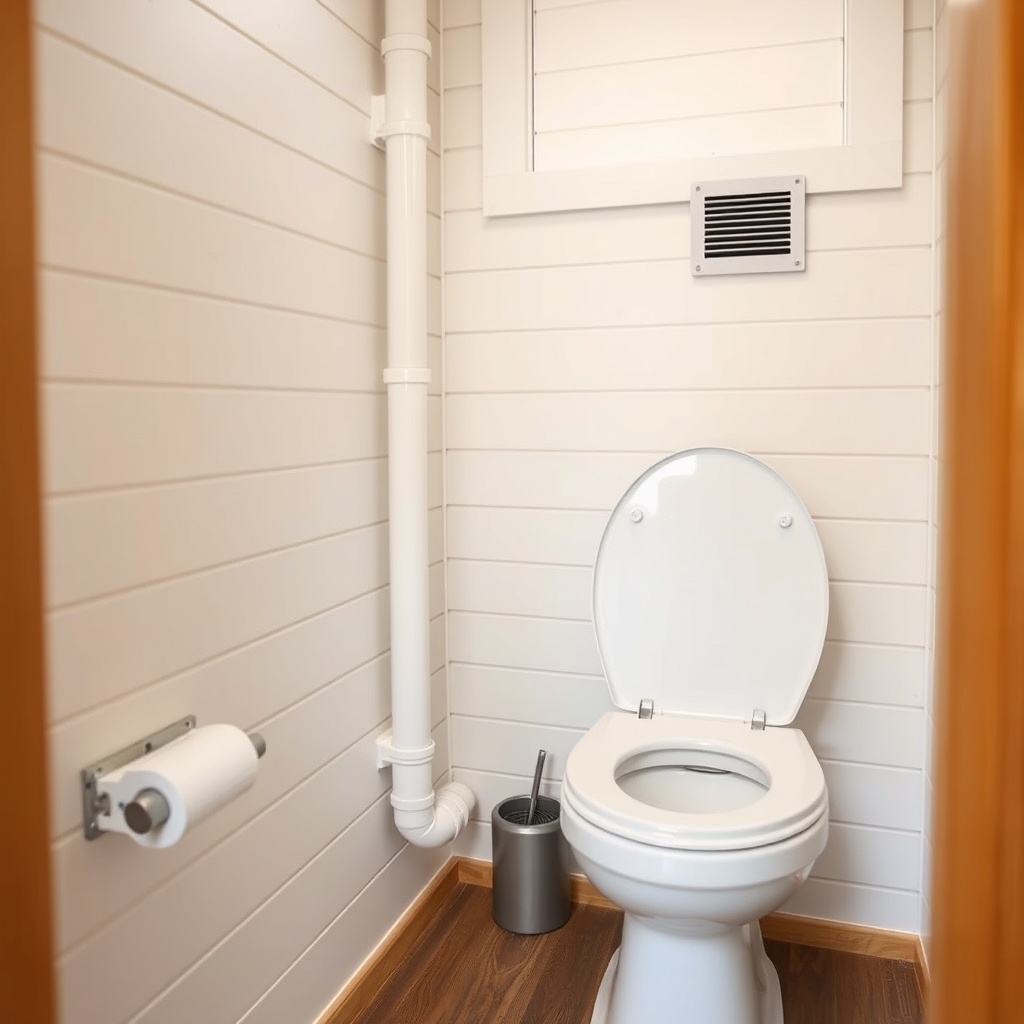
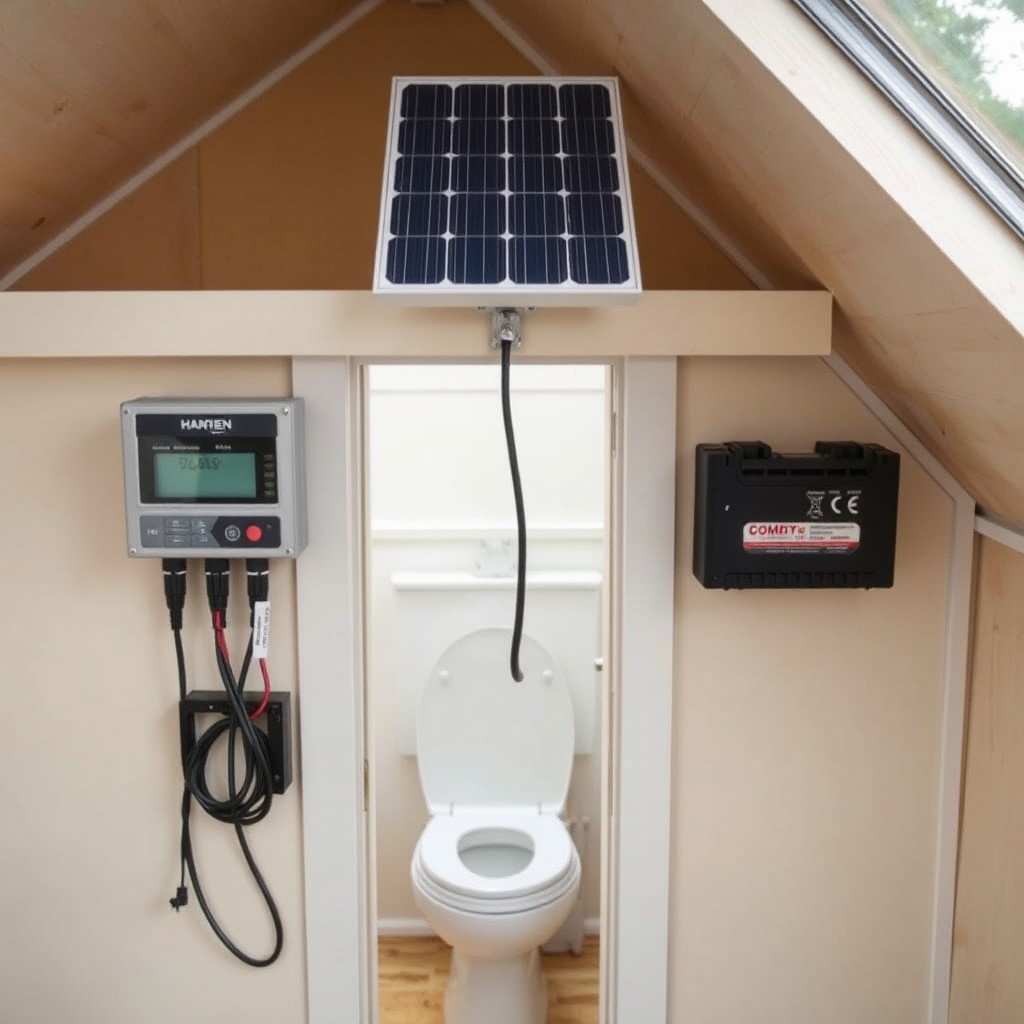
How Do You Install the Ventilation Stub-Out Correctly?
Proper venting is non-negotiable for a composting toilet in the Tiny Goat House. Without it, moisture and odor will accumulate. The manufacturer specifies a 4-inch (or 3-inch if using an adapter) smooth-wall PVC pipe running from the toilet’s outlet to the roof or sidewall.
Steps for a clean installation:
- Mark the location: Use the toilet’s template to locate the vent hole in the wall or ceiling. For the Tiny Goat House, routing through the exterior wall behind the toilet is often easiest.
- Drill a pilot hole: Start from inside, then cut the hole from outside using a 4-inch hole saw.
- Secure the roof jack or wall vent: Apply butyl tape around the flange and screw it in place. Use a storm collar for weatherproofing.
- Connect the toilet: Attach the flexible hose (supplied with most models) to the toilet outlet and clamp it secure. Run it as straight as possible — avoid kinks.
- Install the fan: Most units have a built-in fan. If not, add a quiet 12V computer fan (like Noctua NF-A4) at the vent exit to pull air out of the Tiny Goat House.
Test the system by placing a smoke stick inside the toilet. The smoke should be drawn upward and out. If you see lingering smoke near the seat, the fan is too weak or there’s a blockage. Many Tiny Goat House owners add a dedicated solar-powered fan to the vent line to ensure 24/7 airflow without draining batteries.
Pro tip from builders: Insulate the vent pipe where it passes through unheated areas to prevent condensation from dripping back into the solids container in cold weather. Use pipe wrap rated for at least R-4.
What Floor Anchoring Do You Need for Stability?
The Tiny Goat House’s bathroom floor is typically ¾-inch plywood over a 2×6 joist system. A composting toilet, when fully loaded with solids and liquid, can weigh over 70 pounds. Without proper anchoring, the unit may shift during travel (if the house is mobile) or tip over.
- Use four #10 x 2-inch stainless steel screws, not drywall or wood screws, to secure the toilet base to the floor.
- Pre-drill holes through the toilet’s mounting brackets and into the subfloor. A pilot hole prevents splitting the plywood.
- For additional stability on a moving Tiny Goat House, apply a bead of marine-grade silicone between the base and the floor before screwing down. This creates a vibration-damping seal.
- If the floor is tile, use a diamond-tipped masonry bit to drill through the tile, then install plastic wall anchors for the screws.
Never rely solely on caulk or adhesive. Screws are the only safe method. One owner reported their toilet slid two inches during a rough road trip because they only used double-sided tape — a messy result that required full cleaning of the liquid tank.
Severity of Common Installation Issues
| Issue | Severity Level |
|---|---|
| Vent pipe not sealed to roof jack | Needs attention soon — can cause water leaks and mold inside walls |
| Toilet not screwed to floor (mobile) | Needs attention soon — risk of tipping and spillage |
| Fan not running or weak | Needs attention soon — odor build-up in under 12 hours |
| Slight wobble from uneven floor shimming | Usually not urgent — can be fixed with a thin plastic shim under one corner |
| Liquid tank not fully emptied weekly | Usually not urgent — but will lead to odor if neglected over 10 days |
| Missing charcoal filter in vent line | Usually not urgent — but adds extra odor control in high-humidity climates |
How Do You Manage the Liquid and Solids Containers?
Each composting toilet model for the Tiny Goat House has a different emptying routine. The key is to establish a schedule that fits your usage. For a couple living full-time in the Tiny Goat House, expect to empty the liquid tank every 2-3 days and the solids bin every 5-7 days.
- Liquid tank: Open the valve (if you have one) into a portable waste tank or a bucket. Rinse with white vinegar after each empty to neutralize ammonia. Dilute with water before disposing of in a compost pile or designated area (check local regulations). Never use bleach—it kills beneficial compost bacteria.
- Solids bin: After each use, add a handful of fine-grade sphagnum peat moss or coconut coir. This controls moisture and masks odor. When the bin is full (usually 3-4 inches from the top), place the entire liner bag (if used) into a hot compost pile or municipal green bin. Some Tiny Goat House owners use biodegradable dog waste bags for quick daily removal.
One practical tip: Keep a spray bottle with water and a few drops of tea tree oil next to the toilet. A quick spritz after emptying helps keep the plastic surfaces clean without harsh chemicals. Also, store peat moss in a sealed bucket with a scoop — it will prevent clumping in humid environments.
What Do Owners Say About Day-to-Day Use?
Real feedback from Tiny Goat House owners who made the switch to composting toilets consistently highlights two things: the initial learning curve and long-term reliability. One owner noted, “The first week I was paranoid about smell, but after learning to balance the moisture with peat moss, it’s been odor-free for two years now.” Another said, “I wish I’d installed the vent fan on a separate switch so I could run it during the day without the main 12V system being on. That’s my only regret.”
Several users also mentioned that the liquid tank on the Nature’s Head model is slightly smaller than the Separett, requiring more frequent dumping for heavy users. However, the simplicity of the crank mechanism (turning the drum) was praised over the Separett’s paddle design. For the Tiny Goat House, owners recommend testing both if possible—the right choice comes down to how much you prioritize liquid capacity vs. solid handling ease.
Installing a composting toilet frees up valuable space under the Tiny Goat House for water tanks or storage, and many owners report a sense of independence from traditional sewer hookups. It also pairs beautifully with other off-grid systems, like a simple Tiny Goat House: Best Loft Ladders and Space-Saving Stairs to access the sleeping loft.
How Does It Fit with Other Off-Grid Systems in Your Tiny Goat House?
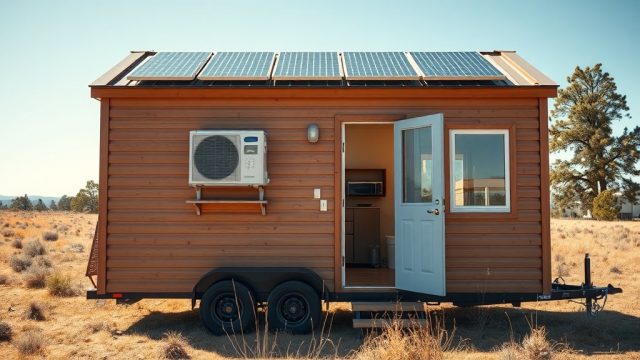
A composting toilet is just one part of a complete off-grid setup in the Tiny Goat House. The toilet’s low power draw (around 0.5 amps for the fan) works well with a small solar array and a 100Ah lithium battery. To save even more power, consider using a passive vent instead of a fan in mild climates—but this only works if the vent pipe is at least 6 inches above the roof line to create natural draft.
For cooking, your off-grid kitchen benefits from an energy-efficient induction cooktop, which we cover in our Tiny Goat House: Top Induction Cooktops for Small Kitchens. Both systems together can keep your Tiny Goat House footprint small while maximizing livability. Also consider that the compost from your toilet (after a year of hot composting) becomes nutrient-rich soil for landscaping, closing the loop on waste management.
Frequently Asked Questions
- Can I install a composting toilet in a Tiny Goat House without a vent pipe? No. A vent pipe is mandatory to avoid moisture and odor buildup. Without it, the interior will become damp and smelly within a week.
- How much electricity does the Tiny Goat House composting toilet fan use? Most 12V fans draw between 0.1 and 0.5 amps, roughly 1.2 to 6 watt-hours per day when running continuously. A 100Ah battery can power it for weeks.
- Do I need a special permit for a composting toilet in the Tiny Goat House? It depends on local codes. Many rural and off-grid areas allow them, but some municipalities require a permit and inspection. Check with your county health department.
- What if the solids container freezes in winter? If the Tiny Goat House is used in freezing temperatures, keep the toilet in a heated space (above 40°F) or add an insulation blanket around the bin. The peat moss mixture has antifreeze properties but will harden if fully frozen.
- How do I clean the liquid tank without harsh chemicals? Rinse with a mixture of one part white vinegar to three parts water. Let it sit for 10 minutes, then dump. Vinegar neutralizes ammonia and prevents hard water spots.
- Can I build a custom enclosure for the composting toilet in the Tiny Goat House? Yes, but ensure you leave at least 4 inches of clearance around the unit for air circulation and maintenance. Many owners build a removable plywood box with a flip-top lid for a cleaner look.